🚚 Free delivery across the UAE⚡ Same-day delivery in Dubai on UAE-stock items🎁 Buy 2 save 10% · Buy 3+ save 15%🔒 Secure checkout🚚 Free delivery across the UAE⚡ Same-day delivery in Dubai on UAE-stock items🎁 Buy 2 save 10% · Buy 3+ save 15%🔒 Secure checkout

Author: REZUZA Team

  • How to Organise Spices in a Small Kitchen (UAE Apartment Guide)

    How to Organise Spices in a Small Kitchen (UAE Apartment Guide)

    Cumin, turmeric, chilli, garam masala, za’atar, sumac, cardamom… most UAE kitchens hold a lot of spices – often in torn packets and mixed jars that are hard to find when you’re cooking. Here’s a simple system that saves space and keeps spices fresher for longer.

    Step 1: Empty and sort

    Take everything out. Throw away spices that have lost their colour and smell – ground spices are best within about a year, whole spices last longer.

    Step 2: Choose matching, airtight jars

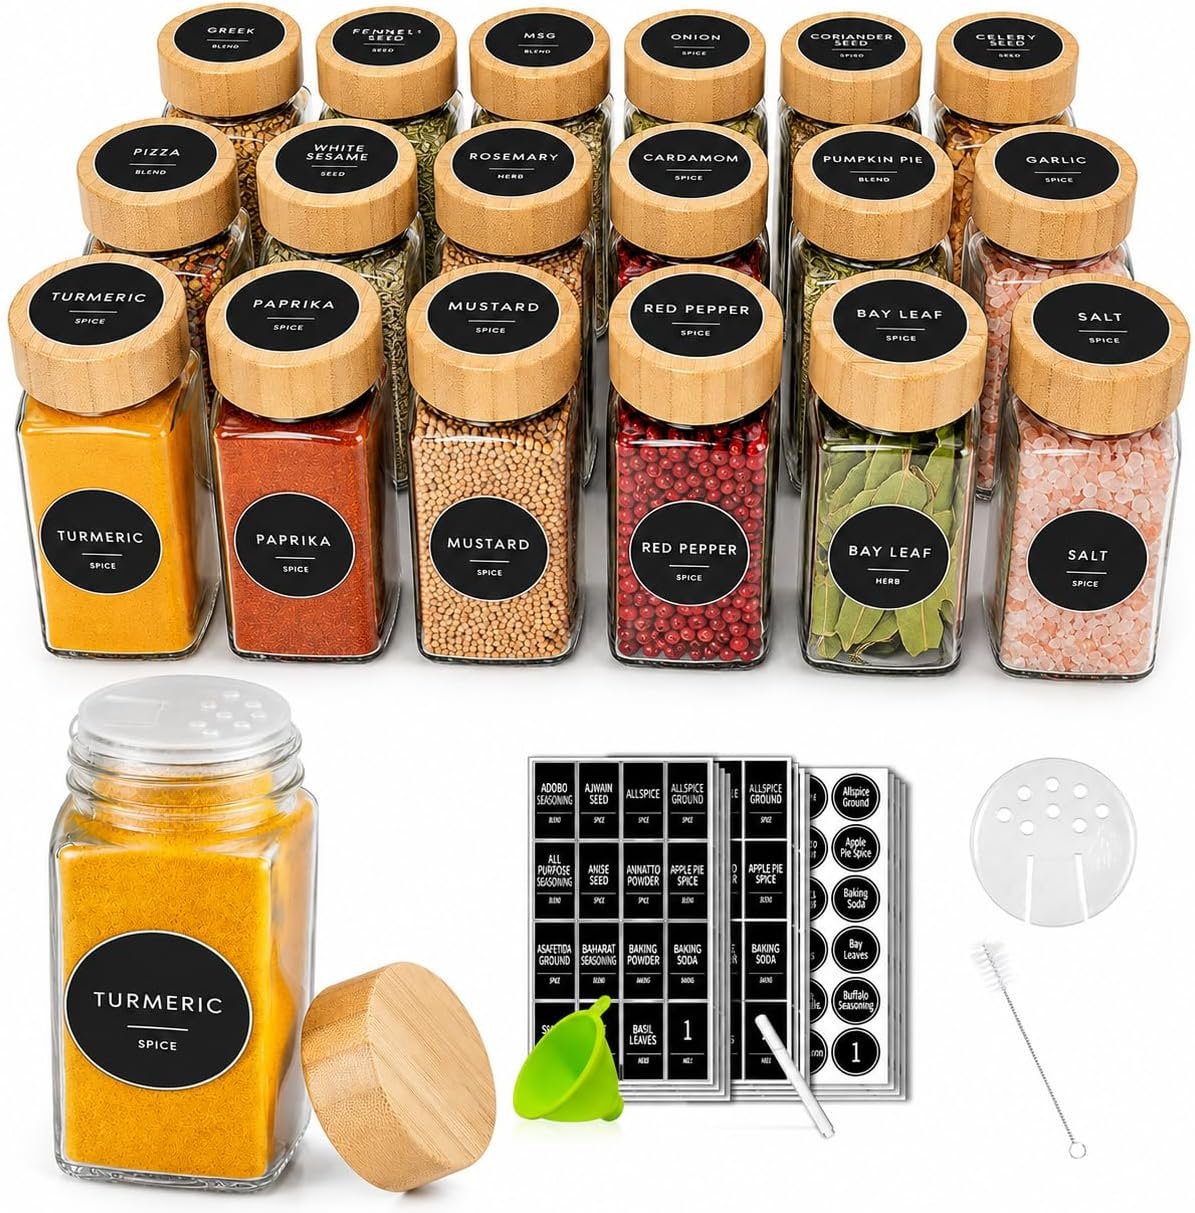
    Heat and humidity are the enemies of spices. Glass jars with tight seals protect flavour and don’t absorb smells or stains the way plastic can. Square jars fit together without gaps, so you store more in the same drawer or shelf.

    Step 3: Label everything

    Write the name on the lid or front – and the date you filled it. Labels on the lid are perfect for drawers; front labels work for racks.

    Step 4: Group by how you cook

    • Daily basics: salt, black pepper, chilli, turmeric, cumin
    • Blends: garam masala, biryani masala, baharat, za’atar
    • Baking: cinnamon, cardamom, nutmeg, vanilla
    • Herbs: oregano, thyme, mint, parsley

    Step 5: Store away from heat

    Never keep spices above the hob or next to the oven. A drawer or cupboard away from heat and sunlight is ideal.

    REZUZA Glass Spice Jars with Bamboo Lids – square 128 ml glass jars with airtight bamboo lids, shaker inserts, labels and funnel – in sets of 12 or 24.

    View REZUZA Glass Spice Jars with Bamboo Lids →

    Free UAE delivery · Cash on Delivery · 90-day free returns

    Bonus tips

    • Use a small funnel to refill without mess.
    • Buy whole spices and grind small amounts for maximum flavour.
    • Keep a list on the inside of the cupboard door of what needs refilling.
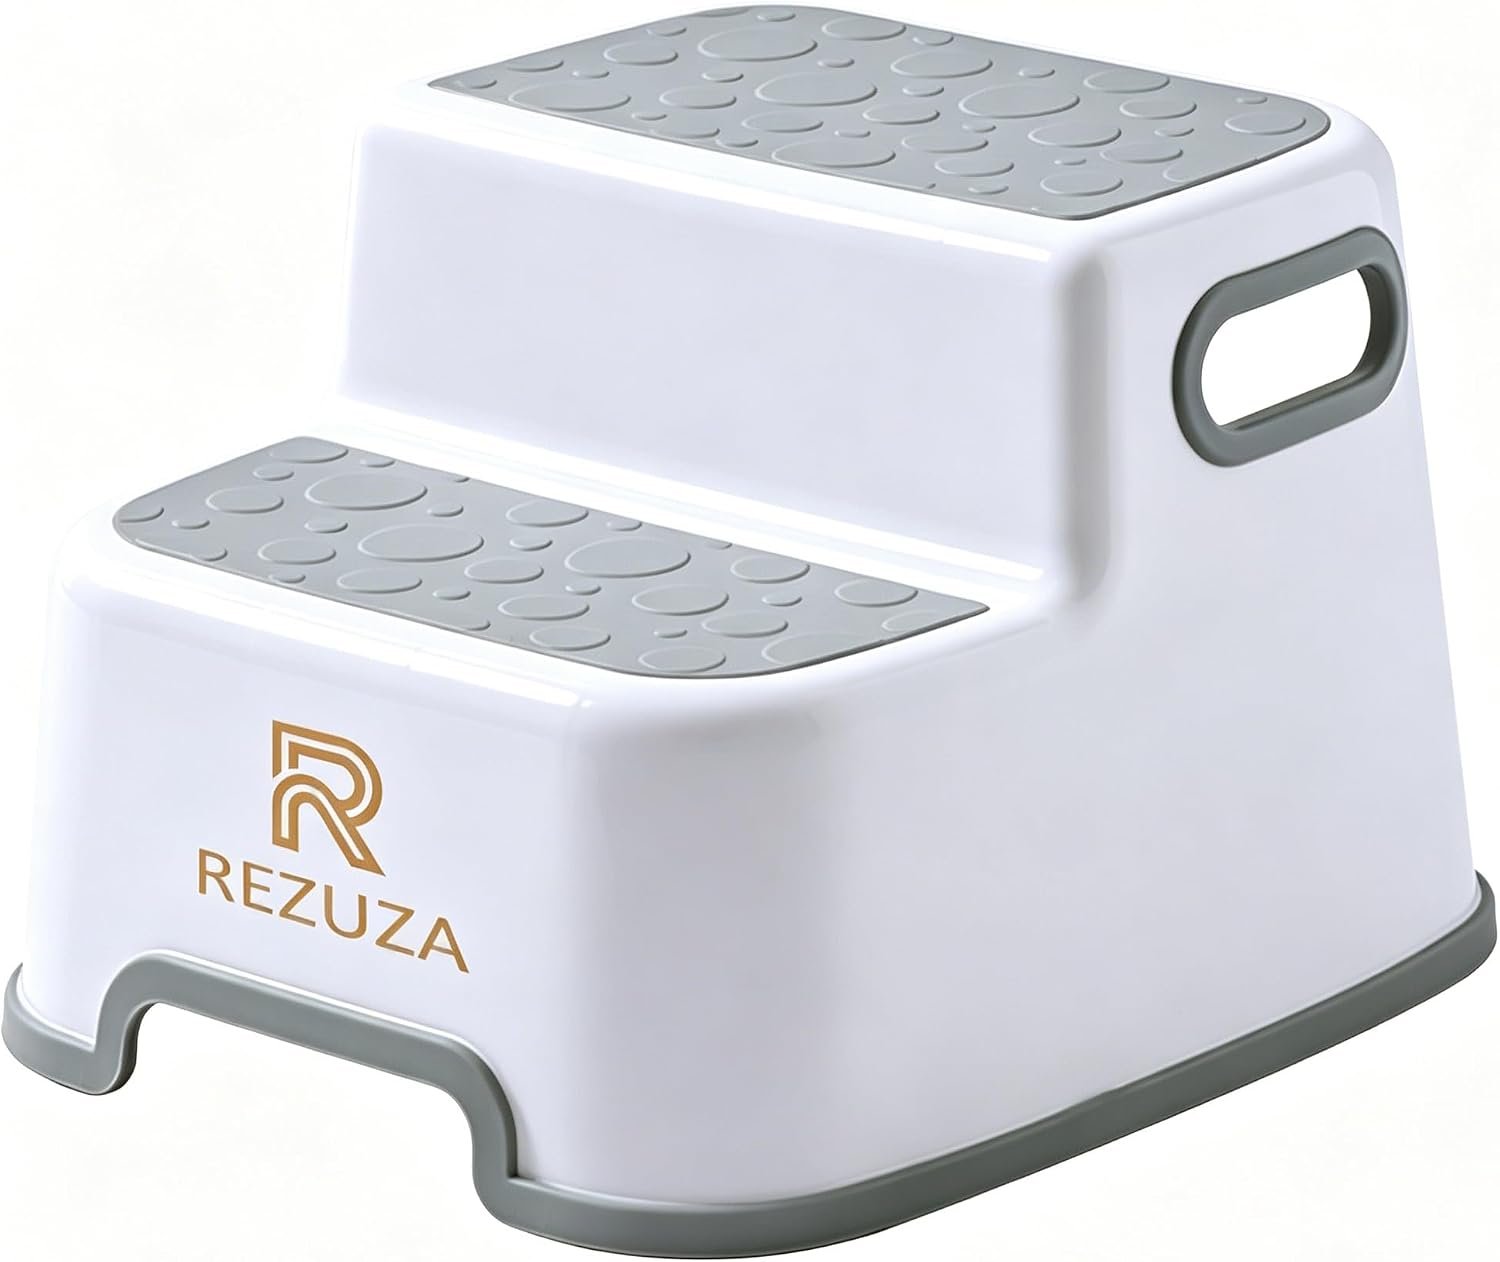
  • Toddler Step Stool: How to Choose a Safe One for Potty Training

    Toddler Step Stool: How to Choose a Safe One for Potty Training

    Between about 18 months and 4 years, children want to do everything “by myself” – reach the sink, climb onto the toilet, help in the kitchen. A good step stool supports that independence, but only if it is stable, non-slip and the right height.

    What to look for in a toddler step stool

    1. A non-slip base

    Bathroom tiles get wet. Rubber feet or a rubber rim underneath stop the stool sliding when your child climbs on.

    2. Textured, anti-slip steps

    Smooth plastic is slippery with wet feet. Look for raised textures on every step.

    3. Two steps instead of one tall step

    A two-step design lets little ones climb in stages – the lower step to get up, the higher one to stand at the sink or toilet. It’s easier and safer than one high jump.

    4. A wide footprint

    The wider the base, the harder it is to tip.

    5. Smooth, rounded edges and child-safe plastic

    No sharp corners for bumps and falls, and material that is easy to wipe clean.

    6. Carry handles

    You’ll move the stool between bathroom, kitchen and bedroom – handles make that easy for you and even for your child.

    REZUZA Toddler 2-Step Stool – non-slip treads, rubber base and side handles, in Gray, Green or Pink.

    View REZUZA Toddler 2-Step Stool →

    Free UAE delivery · Cash on Delivery · 90-day free returns

    Safety tips

    • Always supervise young children on a step stool.
    • Place it on a dry floor and check it doesn’t rock before use.
    • Teach your child to face the sink or toilet and keep both feet on the step.
    • Keep it away from windows, hobs and anything hot.

    Using it for potty training

    Combine the stool with a child toilet seat: the stool lets your child climb up independently and gives their feet support while sitting, which many children find more comfortable and confidence-building.

  • How to Stop Shower Water Flooding Your Bathroom Floor

    How to Stop Shower Water Flooding Your Bathroom Floor

    Walk-in and curb-less showers look beautiful, but many UAE apartments have one common problem: water spreads across the bathroom floor every time someone showers. That means slippery tiles, wet towels, mould in the grout and, in some buildings, leaks to the flat below.

    Why does shower water escape?

    • The floor slope towards the drain is too gentle.
    • The drain is small or partly blocked by hair and soap.
    • A glass screen is too short or has a gap at the bottom.
    • The shower head is angled towards the opening.

    6 ways to keep water inside the shower

    1. Clean the drain

    Hair and soap build-up slows draining dramatically. Remove the cover and clean it every few weeks.

    2. Re-angle the shower head

    Point it towards the back wall, not the open side.

    3. Add a shower curtain liner

    Even with a glass panel, a weighted liner on the open side catches spray.

    4. Use an absorbent bath mat

    Helpful for drips, but it won’t stop pooling water and needs frequent drying.

    5. Re-tile the floor slope

    The permanent fix – but expensive, messy and often not allowed in rented apartments.

    6. Install a collapsible water barrier

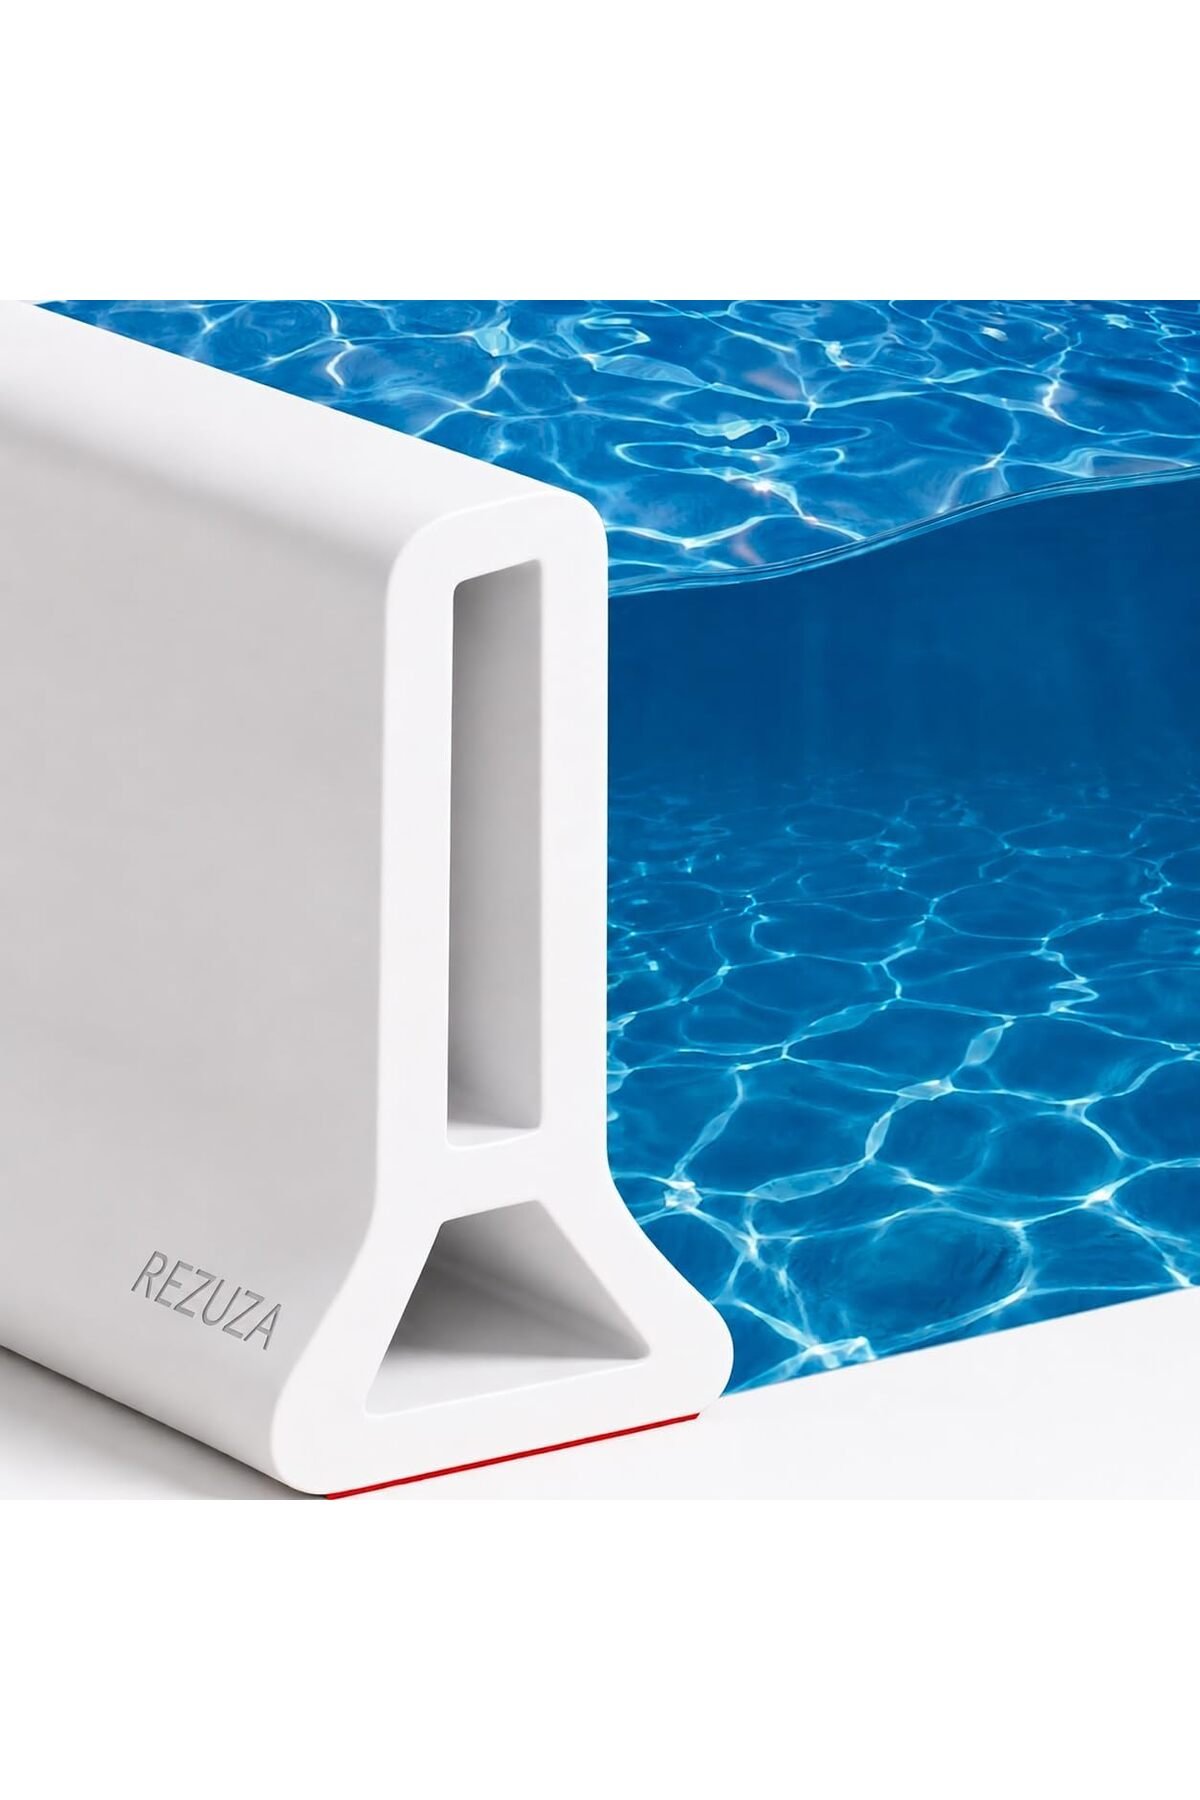
    A soft silicone strip sticks to the floor at the shower edge and forms a small dam that keeps water in. It folds flat when you step on it, so it isn’t a trip hazard, and it pops back up straight away. No drilling, no tiling, and it can be trimmed to length.

    REZUZA Collapsible Shower Water Barrier – self-adhesive silicone dam in 1 m, 2 m and 3 m lengths – keeps water in, folds flat underfoot, renter-friendly.

    View REZUZA Collapsible Shower Water Barrier →

    Free UAE delivery · Cash on Delivery · 90-day free returns

    How to install a shower water barrier correctly

    1. Clean the floor with alcohol or a degreaser and let it dry completely.
    2. Measure the opening and trim the barrier with scissors.
    3. Peel the backing and press firmly along the full length, starting from one end.
    4. Wait 24 hours before showering so the adhesive bonds fully.

    Which size do I need?

    Measure the open side of the shower floor. 1 m fits most standard openings, 2 m suits wide walk-in showers or two sides, and 3 m is for large or L-shaped shower areas.

  • How to Shred Chicken Fast: 5 Methods Compared (With Times)

    How to Shred Chicken Fast: 5 Methods Compared (With Times)

    Shredded chicken is the base of so many family meals – shawarma wraps, biryani, chicken salad, harees, sandwiches and meal-prep boxes. But shredding a few kilos with two forks can take forever. Here’s how the most common methods compare.

    1. Two forks

    Time for 1 kg: about 10–15 minutes. Free and simple, but slow and tiring on the wrists, and hot meat is hard to hold steady.

    2. Your hands (with gloves)

    Time: 8–10 minutes once the chicken has cooled. You get nice long strands, but you must wait for the meat to cool, and it’s messy.

    3. Stand mixer or hand mixer

    Time: 1–2 minutes. Very fast for large batches, but meat can fly out of the bowl, and you then have a mixer, beaters and a big bowl to wash.

    4. Meat claws

    Time: 5–7 minutes. Better grip than forks, good for BBQ, but still a two-handed, arm-tiring job.

    5. Twist chicken shredder

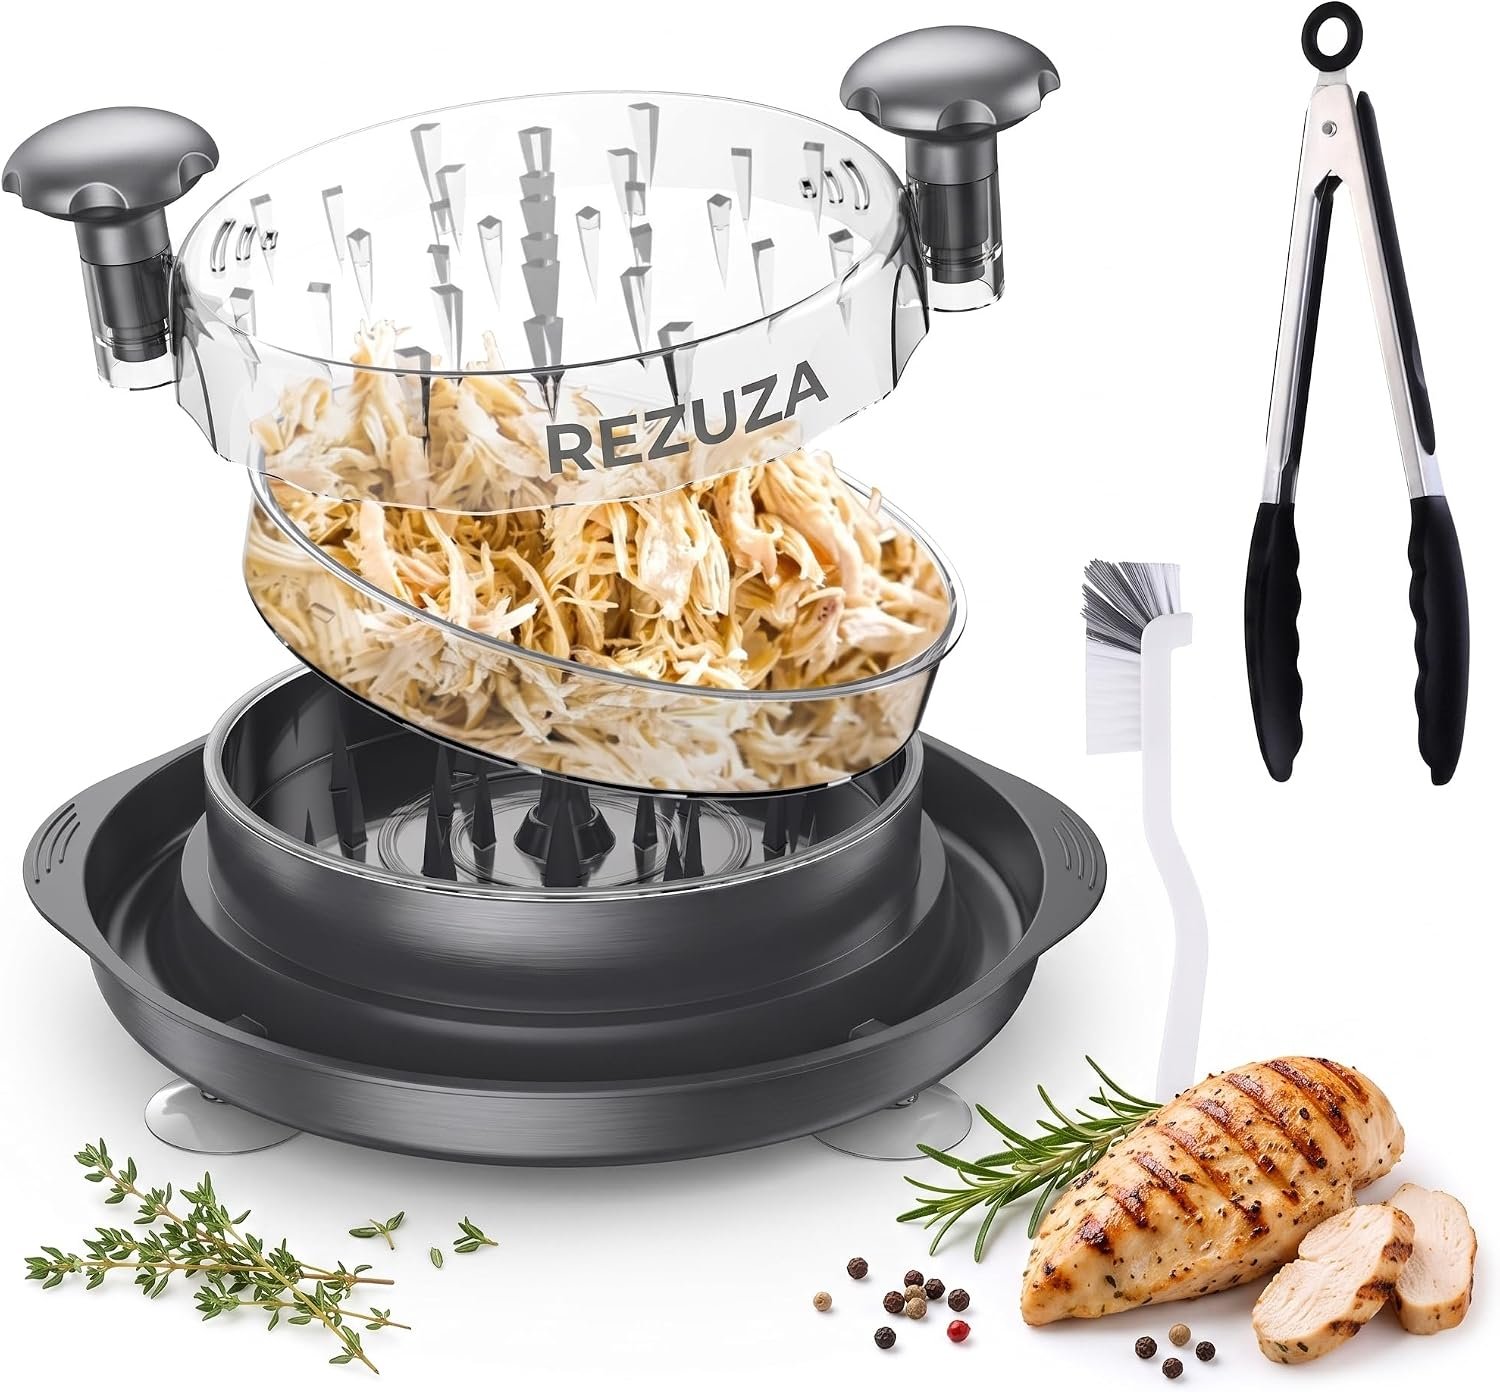
    Time: under a minute per batch. Put warm, boneless chicken in the bowl, close the lid and twist a few times – the inner teeth pull the meat apart. A non-slip base keeps it still on the counter, and the parts go in the dishwasher.

    REZUZA Chicken Shredder Tool – a twist-style shredder with non-slip base, ideal for chicken, beef and lamb. Available in black or white.

    View REZUZA Chicken Shredder Tool →

    Free UAE delivery · Cash on Delivery · 90-day free returns

    Tips for perfectly shredded chicken

    • Shred while warm – meat pulls apart much more easily than when cold.
    • Use boneless pieces – breast and thigh both work; thigh stays juicier.
    • Don’t overfill – a half-full bowl shreds more evenly.
    • Add a little cooking liquid afterwards to keep meal-prep chicken moist in the fridge.

    Which method should you choose?

    For one or two chicken breasts, forks are fine. If you cook for a family, batch-cook for the week or make shawarma often, a twist shredder or mixer saves real time – and the shredder is far easier to clean.

  • Can You Put Parchment Paper in an Air Fryer? A Safe, Simple Guide

    Can You Put Parchment Paper in an Air Fryer? A Safe, Simple Guide

    Air fryers are in almost every UAE kitchen now, and one question comes up again and again: can you use parchment paper in an air fryer? The short answer is yes – as long as you follow a few simple rules. Used correctly, parchment keeps the basket clean, stops sticky food (marinated chicken, fish, cheese) from burning on, and saves you scrubbing time.

    The 4 rules for using parchment paper in an air fryer

    1. Never preheat with parchment alone. The fan can lift a loose sheet into the heating element. Always put food on top of the paper so it is weighed down.
    2. Don’t cover the whole basket. Air fryers cook by moving hot air. Leave a gap around the edges, or use perforated sheets, so air still flows and food crisps up.
    3. Stay within the temperature rating. Good parchment is rated to around 230 °C (450 °F). Most air-fryer recipes cook at 180–200 °C, which is well inside that limit.
    4. Use real parchment, not wax paper. Wax paper melts and smokes. Parchment has a heat-resistant, non-stick coating made for ovens and air fryers.

    What parchment is great for in the air fryer

    • Marinated chicken wings, tikka and shawarma-style strips that would otherwise stick
    • Fish fillets and prawns that break easily
    • Cheese-topped items, samosas and spring rolls that drip
    • Reheating leftovers without cleaning the basket afterwards

    When not to use it

    Skip the paper for foods that need maximum crisping on every side (like plain frozen fries) – direct air contact gives the best crunch. And never use any paper in an empty, running air fryer.

    Pre-cut sheets vs a roll

    A roll curls up and is hard to cut neatly. Pre-cut sheets lie flat, are the right size every time and are much quicker on busy weeknights. Unbleached (brown) sheets are a popular choice because they skip the chlorine bleaching step.

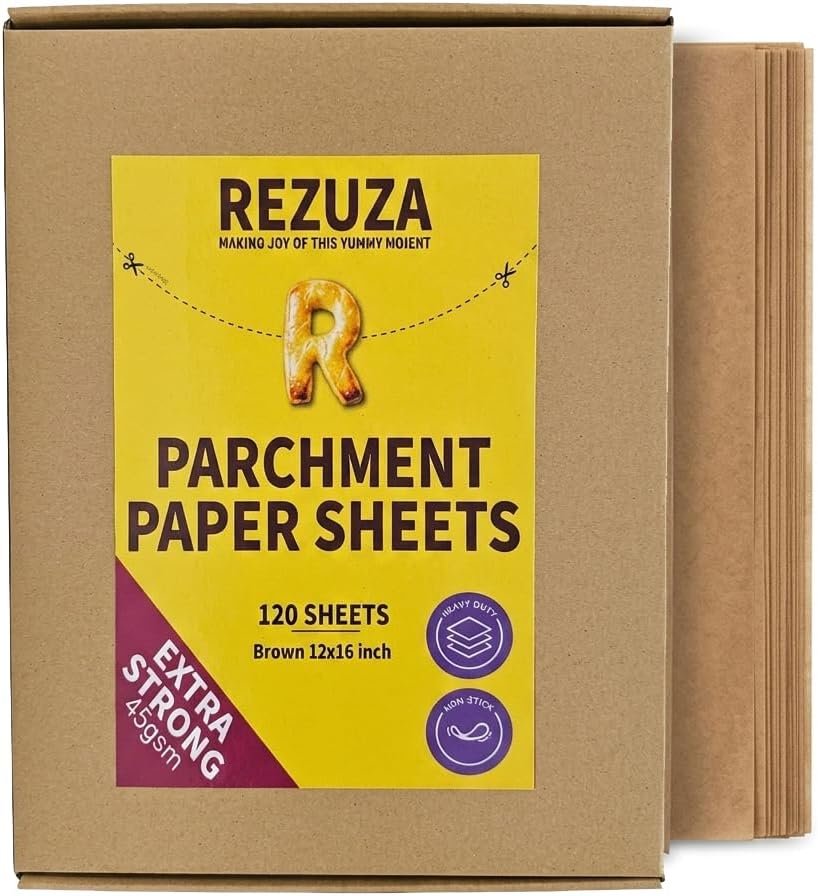
    REZUZA Pre-Cut Parchment Paper Sheets – unbleached, non-stick sheets in 8×12 and 12×16 inch sizes, ready to drop into your air fryer, oven tray or steamer.

    View REZUZA Pre-Cut Parchment Paper Sheets →

    Free UAE delivery · Cash on Delivery · 90-day free returns

    Quick answers

    Can parchment catch fire in an air fryer?

    Only if it touches the heating element – which happens when the sheet is loose or too big. Keep food on top and the sheet smaller than the basket.

    Is parchment paper the same as baking paper?

    Yes. In the UAE and UK it is usually called baking paper; in the US it is called parchment paper.

    Can I reuse a sheet?

    If it is clean and not brittle you can reuse it once or twice for similar foods, but replace it as soon as it darkens or tears.

Chat with us